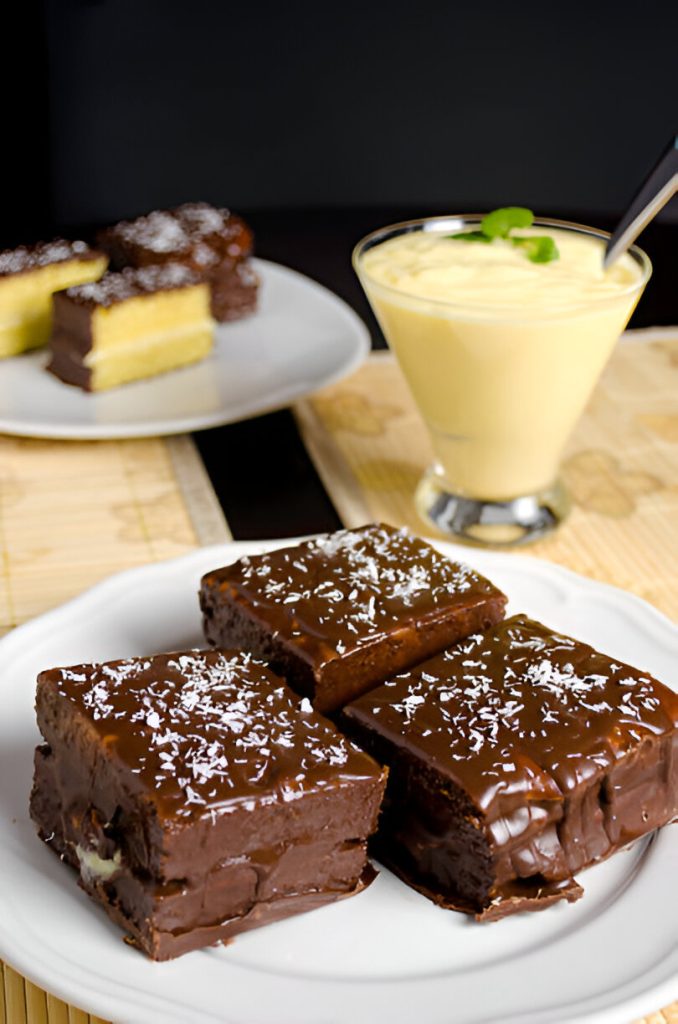
You’re about to unlock the secrets of making perfect chocolate-covered strawberries at home. Imagine the joy of transforming fresh berries and quality chocolate into a delicious treat. Whether it’s for Valentine’s Day, a party, or a personal indulgence, this guide is your key. You’ll master selecting strawberries, melting chocolate, and achieving that glossy finish. So, roll up your sleeves, let’s dive into the delightful world of chocolate-covered strawberries together.
Gathering Your Ingredients
You’ll need to gather a few key ingredients to start making your chocolate covered strawberries. Fresh, ripe strawberries are your main star. When choosing, go for firm, bright red ones with no bruises or spots. Now, how do you prepare strawberries before dipping in chocolate? It’s simple. Rinse them gently under cool water and then pat them dry. Make sure they’re thoroughly dry, as water can make the chocolate seize up.
Now let’s talk about the chocolate. What is the best chocolate for chocolate strawberries? High-quality, melting chocolate is what you’re after. You can choose from dark, semi-sweet, or milk chocolate, depending on your preference.
Should strawberries be cold before dipping in chocolate? Not necessarily. Room temperature strawberries work best as cold ones can cause the chocolate to harden too quickly, preventing a smooth, even coat.
As for decoration, get creative. You can sprinkle some crushed nuts or drizzle white chocolate over them before the chocolate sets. To make chocolate-covered strawberries without a flat side, insert a toothpick into each strawberry and use it to dip and then prop them up until the chocolate sets. Voila, you’re ready to start.
Selecting the Right Strawberries
When it comes to picking the perfect strawberries for your chocolate delight, you’ll want to look for bright red, firm berries without any spots or bruises. The size of the strawberries doesn’t matter as much as the freshness. You might be wondering, “Should strawberries be cold before dipping in chocolate?” The answer is no. In fact, they should be at room temperature. Cold strawberries can cause the chocolate to seize, making it lumpy and hard to work with.
Now, you might also ask, “How long to soak strawberries before dipping in chocolate?” Don’t! Soaking strawberries in water can make them mushy and ruin their natural sweetness. Simply rinse them under cold water and pat dry.
| Strawberry Selection | Preparation | Storage |
|---|---|---|
| Bright red, firm, no spots or bruises | Rinse, don’t soak | Best at room temperature |
| Size doesn’t matter | Pat dry before dipping | Don’t refrigerate before dipping |
| Freshness is key | Don’t dip cold strawberries | Store in a cool, dry place |
Choosing Quality Chocolate
Often, the quality of your chocolate-covered strawberries is determined by the quality of the chocolate you choose. So, when choosing quality chocolate, it’s crucial to look out for a few key factors.
First, you should always opt for high-quality chocolate. This means avoiding compound chocolates, which often contain vegetable fats instead of cocoa butter. Instead, go for couverture chocolate, which melts beautifully and gives a shiny, crisp finish.
You might ask, should strawberries be cold before dipping in chocolate? Indeed, they should be at room temperature. Cold strawberries can cause the chocolate to harden too quickly, preventing it from adhering properly.
Perhaps you’re wondering, why won’t my melted chocolate stick to my strawberries? This could be due to water on the strawberries or the chocolate being too hot.
- When melting your chocolate:
- Pay attention to the temperature. The ideal temperature for chocolate covered strawberries is around 88-90°F for dark chocolate, and slightly lower for milk and white chocolate.
- If you notice your chocolate not hardening on your strawberries, it might be because the chocolate was overheated or improperly tempered.
Choosing quality chocolate and using these tips will definitely elevate your chocolate-covered strawberries to the next level!
Preparing Your Workstation
After choosing your high-quality chocolate, it’s time to prepare your workstation for making the chocolate covered strawberries. Start by ensuring you have everything you need within reach. This includes your strawberries, which should be washed and thoroughly dried. Now, you might wonder, should strawberries be cold before dipping in chocolate? No, they should be at room temperature to prevent the chocolate from hardening too quickly.
Next, set up a double boiler for melting your chocolate. As you do this, consider how long it will take for your chocolate covered strawberries to harden. Typically, it takes about 30 minutes in the refrigerator. However, you may want to allow extra time in your planning, just in case.
Can you make chocolate covered strawberries the night before? Yes, but remember that freshness is key. So, store them properly in the fridge, where they’ll last up to two days.
Lastly, if you’re wondering why your chocolate-covered strawberries get soggy, it’s probably because your strawberries weren’t completely dry before dipping. Moisture is the enemy of crisp, firm chocolate. So, keep everything dry and enjoy the process!
Washing and Drying Strawberries
Before you begin dipping, it’s essential to properly wash and thoroughly dry your strawberries, ensuring no moisture remains that could interfere with the chocolate’s adherence. This step is vital to the success of your chocolate-covered strawberries, and shouldn’t be rushed or overlooked.
To begin:
- Select fresh, ripe strawberries. Check for any signs of mold or damage. Discard any that don’t meet your standard.
- Place the strawberries in a colander and rinse them gently under cold water. Be careful not to bruise or damage the fruit.
- Never soak strawberries. They can absorb water, which dilutes their flavor and makes them mushy.
- Don’t remove the stems or hull the strawberries before washing. This can allow water to get into the fruit.
Once you’ve washed your strawberries:
- Pat them dry gently with a paper towel or clean kitchen towel.
- Make sure each strawberry is completely dry, including around the stem. Any leftover moisture can cause the chocolate to seize and become grainy.
- If you have time, let the strawberries air dry on a clean towel for a few minutes to ensure they’re completely dry.
Taking the time to properly wash and dry your strawberries ensures you’ll have the best possible end result – delectable, beautiful chocolate-covered strawberries. Enjoy the process, the creativity, and of course, the delicious outcome!
Melting the Chocolate
Now that your strawberries are clean and completely dry, it’s time for you to start melting the chocolate. Choose a high-quality chocolate – bittersweet, semi-sweet, or milk chocolate will all do.
Here’s a pro tip: chop your chocolate into even pieces to ensure smooth, consistent melting. Place the pieces into a heat-safe bowl. To melt your chocolate, you can use either a microwave or a double boiler. If you’re using a microwave, heat the chocolate in short intervals, stirring in between each session to avoid burning it.
If you’re using a double boiler, fill the bottom pot with a couple inches of water and bring it to a simmer. Place the top pot or heat-safe bowl above it, making sure it doesn’t touch the water. Add your chocolate to the top pot and stir gently until it’s perfectly velvety.
Dipping Strawberries in Chocolate
Once your chocolate is perfectly melted, it’s your turn to start the fun part – dipping the strawberries! This is where your crafty side gets to shine. But remember, the key is in the technique, so follow these steps carefully.
Here’s what you need to do:
- Hold the strawberry by the stem or leaves. This gives you a good grip and keeps your fingers clean.
- Don’t have a stem? No worries! Just use a toothpick or skewer.
- Dip the strawberry into the chocolate. Make sure you get a good, even coat all around.
- Don’t dip the strawberry too deep or the chocolate will pool at the base.
- Lift the strawberry out of the chocolate, letting any excess drip off.
- To avoid a chocolate ‘foot’ forming at the base, gently shake the strawberry to get rid of any extra chocolate.
- Place the dipped strawberry onto a baking sheet lined with parchment paper.
- Make sure you space them out so they don’t stick together.
And voila! You’ve successfully dipped your strawberries in chocolate. Now, isn’t that a sweet achievement?
Adding Optional Toppings
After you’ve perfectly dipped your strawberries in chocolate, you might want to add a bit more flair with some optional toppings. This is where you can let your creativity shine. Sprinkling some finely crushed nuts such as almonds, pecans, or pistachios can give your chocolate strawberries a crunchy texture and a unique taste. Fancy a tropical twist? Try dusting your strawberries with some sweetened coconut flakes.
For those with a sweet tooth, crushed cookies or colorful sprinkles can add a playful and delicious twist. If you’re a fan of salted caramel, a light sprinkle of sea salt on top of your chocolate-dipped strawberries can provide that savory-sweet combination that’s hard to resist.
Remember, the key is to add these toppings while the chocolate is still wet. That way, they will stick to the chocolate as it hardens. Be sure to arrange your strawberries on a baking sheet lined with parchment paper in a single layer, giving each strawberry enough space to prevent them from sticking to each other.
Adding toppings to your chocolate strawberries isn’t just fun, it’s an opportunity to personalize your dessert and make it truly your own.
Setting and Cooling the Strawberries
To ensure your chocolate-dipped strawberries set properly, it’s important to let them cool undisturbed. Once you’ve dipped your strawberries in the melted chocolate and added any desired toppings, transfer them to a baking sheet lined with parchment paper. Arrange the strawberries so they have plenty of space around them; this will help the chocolate harden evenly.
Here are some tips to help your strawberries set and cool properly:
- Avoid moving or touching the strawberries while the chocolate is hardening. This could smudge the chocolate or cause it to crack.
- If you’re in a hurry, you can speed up the setting process by placing the strawberries in the fridge. Be careful not to leave them in too long, though, as this could cause condensation to form, making the chocolate soggy.
- Once the chocolate is firm to the touch, your strawberries are ready to serve.
- Keep in mind that chocolate-dipped strawberries are best served the same day they’re made. If you need to store them overnight, keep them in an airtight container in the fridge. Before serving, let them sit at room temperature for about 15 minutes to take the chill off. This will help bring out the flavor of the chocolate and the strawberries.
Storing Chocolate Covered Strawberries
When you’ve perfected your batch of chocolate-covered strawberries, it’s crucial to store them correctly to maintain their flavor and freshness. It’s best to store them in the refrigerator, arranged in a single layer on a tray lined with parchment paper. This prevents them from sticking together and keeps the chocolate from smudging.
Don’t seal them in an airtight container right away; let them chill in the fridge for at least 15 minutes first. The cold air helps to harden the chocolate quickly, preserving its glossy finish. Once the chocolate has fully set, you can then transfer the strawberries into an airtight container. To avoid any moisture build-up, place a sheet of paper towel at the bottom of the container and another on top of the strawberries before sealing.
Serving Suggestions
Before serving your freshly made chocolate-covered strawberries, consider these suggestions to impress your guests and enhance the dessert’s appeal. Presentation is key, and a beautiful setup can take your dessert to the next level.
- Platter Display: Arrange the strawberries on a beautiful platter or dessert stand. You can create a pattern or scatter them artistically.
- If you’re serving other desserts, place the strawberries strategically to add color and contrast.
- For a romantic touch, arrange the strawberries into a heart shape.
- Pairing Options: Chocolate strawberries pair well with several beverages and desserts.
- A glass of champagne or wine can enhance the chocolate’s flavor.
- You can also serve them with whipped cream or vanilla ice cream for a rich dessert experience.
Nutrition Facts and Benefits
After delighting your guests with this visually appealing dessert, you’ll be pleased to know that chocolate-covered strawberries also pack a nutritional punch. Each strawberry is a powerhouse of vitamin C, fiber, and antioxidants. These nutrients help boost your immune system, promote digestive health, and fight off harmful free radicals.
Now, let’s talk about the chocolate. When you choose dark chocolate with a high cocoa content, you’re adding a dose of healthy flavonoids to your dessert. These compounds are known to lower blood pressure, improve blood flow, and even boost your mood. Plus, it’s a source of healthy fats, fiber, and minerals like iron, magnesium, and copper.
However, like all good things, moderation is key. While these delicacies are nutritious, they can be high in sugar and calories, especially if you’re using milk chocolate or adding extra sweet toppings. To keep things on the healthier side, opt for dark chocolate and limit the extras.
Variations to Try
Now that you’ve mastered the basics, let’s explore some creative variations to put your own spin on these classic chocolate covered strawberries. The beauty of this dessert is its versatility. You can create endless variations, each more delicious and visually appealing than the last.
- Try different types of chocolate:
- White chocolate offers a creamy, sweet contrast to the strawberries.
- Dark chocolate provides an intense, rich flavor that complements the sweetness of the fruit.
- Experiment with toppings:
- Crushed nuts, such as almonds or pistachios, add a nice crunch and flavor.
- Shredded coconut gives a tropical twist to your strawberries.
- Mini chocolate chips or colorful sprinkles make the strawberries more fun and festive.
If you’re feeling adventurous, you can even infuse your chocolate with different flavors. A hint of chili powder in dark chocolate creates a surprising kick, while a splash of orange liqueur in the white chocolate adds a sophisticated touch. Let your imagination run wild and create your own signature chocolate covered strawberries. Remember, the most important thing is to have fun and enjoy the process!
Common Mistakes to Avoid
While you’re exploring variations and getting creative with your chocolate covered strawberries, there are a few common pitfalls you should be aware of to ensure your dessert turns out perfectly.
Firstly, don’t rush the drying process. Any water left on the strawberries can cause the chocolate to seize, creating a grainy texture. Pat them dry gently and thoroughly before dipping.
Secondly, avoid using low quality chocolate. It might be tempting to save a few dollars, but it’s not worth the sacrifice in taste and texture. High-quality chocolate melts smoother and tastes so much better.
Overheating the chocolate is another common mistake. When melted too quickly or at a high temperature, chocolate can become thick and unworkable. It’s best to melt it slowly in a double boiler or in the microwave at 30-second intervals.
Lastly, don’t refrigerate your strawberries for too long. While they need to be chilled to set the chocolate, leaving them in the fridge for hours can cause condensation to form on the surface. This leads to a wet appearance and can make the chocolate coating slide off.
Perfect for Special Occasions
Often, you’ll find that chocolate covered strawberries are a go-to treat for many special occasions due to their elegance and irresistible taste. They’re a perfect blend of indulgence and freshness that appeals to both the eye and the palate.
They add a touch of sophistication to any event, whether it’s a wedding, an anniversary celebration, or a Valentine’s Day surprise. Even a casual gathering can be instantly elevated with this delectable treat.
Here’s how you can turn these delights into special occasion stars:
- Presentation
- Arrange them on a beautiful platter or in a box lined with tissue for gifting.
- You could even skewer them and arrange them as a bouquet for a unique twist.
- Decoration
- Elevate them with a drizzle of white chocolate.
- Sprinkle some edible gold dust or colorful sprinkles for extra flair.
- You can also monogram them with icing for personalized touch.
Frequently Asked Questions
What Are Some Allergy-Friendly Alternatives to Chocolate for Dipping Strawberries?
For an allergy-friendly alternative to chocolate, you can try dipping strawberries in carob or a dairy-free white chocolate. Don’t forget to check all ingredient labels to ensure they’re safe for your specific allergies.
How Can I Make Vegan Chocolate Covered Strawberries?
To make vegan chocolate covered strawberries, you’ll melt vegan chocolate, dip clean strawberries in it, then let them cool on a baking sheet. For extra flair, sprinkle with crushed nuts or shredded coconut.
Can I Use Frozen Strawberries for Making Chocolate Covered Strawberries?
You shouldn’t use frozen strawberries to make chocolate covered strawberries. When they thaw, they become mushy and release water, which prevents the chocolate from adhering properly. Always use fresh strawberries for best results.
What Is the Best Way to Melt Chocolate for People Who Don’t Own a Microwave or Double Boiler?
You don’t need a microwave or double boiler to melt chocolate. Simply place a heatproof bowl over a pot of simmering water. Ensure the bowl doesn’t touch the water. Stir the chocolate until it’s melted.
How Can I Prevent the Chocolate From Cracking on My Strawberries Once It Hardens?
To prevent your chocolate from cracking on strawberries once it hardens, ensure they’re completely dry before dipping. Also, temper your chocolate properly. It’s about getting the right temperature, not too hot nor too cool.


